Scratch provides a fantastic, visual platform for beginners to dive into game development, offering a gentle learning curve.
This tutorial guides you through building a classic Pong game, utilizing pre-made sprites and simple coding blocks.
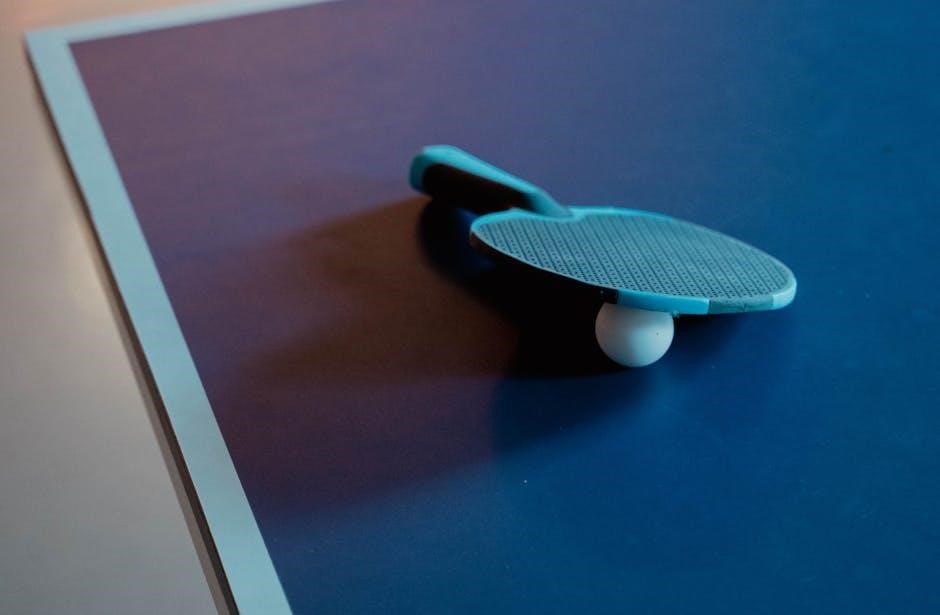
The Pong project features a ball and a paddle, where the paddle is controlled by the user’s mouse movements.
What is Scratch and Why Use It?
Scratch is a block-based visual programming language and online community targeted primarily at children and young adults.
Developed by the Lifelong Kindergarten group at the MIT Media Lab, it allows users to create interactive stories, games, and animations in a playful and accessible environment.
But why choose Scratch for learning to code, especially when embarking on a project like a Pong game?
Its drag-and-drop interface eliminates the complexities of traditional text-based coding, making it incredibly beginner-friendly.
You don’t need to worry about syntax errors; instead, you focus on the logic and creative aspects of programming.
Scratch fosters computational thinking skills – problem-solving, logical reasoning, and algorithmic thinking – in a fun and engaging way.
The platform’s vibrant online community allows you to share your creations, remix projects created by others, and learn from fellow coders.
For a Pong game, Scratch provides pre-built sprites and intuitive blocks to manage movement, collision detection, and scoring, simplifying the development process.
Overview of the Pong Game Mechanics
The core gameplay of Pong revolves around two players (or a player versus the computer) controlling paddles to deflect a ball.
The objective is to prevent the ball from passing your paddle and reaching your side of the screen, thereby scoring points when your opponent fails to return it.
In a typical Scratch implementation, one paddle is controlled by the mouse, allowing the user to move it horizontally across the screen.
The ball moves continuously, bouncing off the top and bottom edges of the screen.
Collision detection is crucial: when the ball collides with a paddle, its direction changes, sending it back towards the opponent.
The game continues until the ball passes a paddle, awarding a point to the opposing player.
The first player to reach a predetermined score wins the game.
This simple yet addictive mechanic provides a perfect foundation for learning fundamental programming concepts within Scratch, like variables, loops, and conditional statements.
Setting Up the Scratch Project
Scratch allows easy project creation; begin by selecting “Pong” to open a pre-built project with essential sprites already included for immediate use.
Creating a New Project and Saving
Starting a new project in Scratch is the foundational step to building your Pong game. Launch Scratch and click on the “Create” button, initiating a blank canvas ready for your coding adventure. This provides a clean slate to design and program the game mechanics from scratch, offering full creative control.
Before diving into coding, it’s crucial to save your project. Click on the “File” menu, then select “Save to your computer.” Choose a descriptive name like “PongGame” and a location on your device where you can easily find it. Regularly saving your work prevents data loss and allows you to revisit and refine your game over time. Scratch also offers cloud saving options with a Scratch account, enabling access from different devices.
Remember consistent saving is a good habit for any coding project, especially during development!
Adding the Paddle Sprite
To begin building the Pong game visually, you’ll need to add the paddle sprite to your Scratch project. Click on the “Choose a Sprite” button, typically located at the bottom-right corner of the screen. This opens the Sprite Library, a collection of pre-designed characters and objects.
Search for “paddle” within the Sprite Library. Select the paddle sprite that best suits your game’s aesthetic – a simple rectangular paddle is a common choice. Once selected, the paddle sprite will appear on the Stage, ready to be programmed. You can adjust its size and initial position using the sprite’s properties in the Sprite Editor.
The paddle will be controlled by the user, so positioning it appropriately on one side of the Stage is essential for gameplay. Consider its size relative to the ball and the Stage boundaries.
Adding the Ball Sprite
Now that the paddle is in place, it’s time to add the ball sprite, the core element that drives the Pong game’s action. Similar to adding the paddle, click the “Choose a Sprite” button and navigate to the Sprite Library. This time, search for “ball” to locate the appropriate sprite.
Select a ball sprite – a simple circle is a standard choice. The ball will appear on the Stage alongside the paddle. Adjust its size and initial position to ensure it’s visible and ready to move. The ball sprite will be programmed to move autonomously, bouncing off walls and the paddle.
Consider the ball’s starting position relative to the paddle and the overall game layout. Proper placement is crucial for a smooth and engaging gameplay experience.

Programming the Paddle Movement
Paddle control is achieved through mouse input, allowing players to move it left and right intuitively.

This section details how to link the paddle’s position to the mouse cursor’s horizontal movement.
Using Mouse Input for Paddle Control
To enable paddle movement with the mouse, we’ll utilize Scratch’s sensing blocks. Specifically, the “go to x: y:” block will be crucial for positioning the paddle. Instead of directly setting the x-coordinate to the mouse’s x-position, a slight adjustment is often beneficial for smoother control.
Begin by adding an “when green flag clicked” event block to initiate the paddle’s movement when the game starts. Inside this event, add a “forever” loop to continuously update the paddle’s position. Within the loop, use a “go to x: y:” block, setting the x-coordinate to the mouse’s x-position (obtained using the “mouse x” sensing block). The y-coordinate can remain fixed, ensuring the paddle stays at a consistent vertical position.
Experiment with multiplying the mouse x value by a small factor (e.g., 0.5) to fine-tune the paddle’s responsiveness. This can prevent overly sensitive or jerky movements, providing a more enjoyable gaming experience. Remember to test frequently and adjust the factor until you achieve the desired level of control.
Limiting Paddle Movement to the Screen Boundaries
Currently, the paddle can move freely across the entire screen, which isn’t ideal for gameplay. We need to constrain its movement within the visible boundaries. Scratch provides “if” blocks to implement these limitations effectively.
To prevent the paddle from going off-screen to the left, add an “if” block that checks if the paddle’s x-position is less than a specific value (e.g., -200). If it is, set the x-position to that value, effectively stopping it from moving further left. Repeat this process for the right boundary, using a different “if” block and a positive value (e.g., 200).
These boundary checks should be placed inside the “forever” loop that controls the paddle’s movement. This ensures that the paddle’s position is constantly monitored and adjusted to stay within the screen limits. Testing is crucial; adjust the boundary values to suit your screen size and desired paddle movement range.
Programming the Ball Movement
Ball movement is central to Pong; it initially moves randomly, then bounces off walls and the paddle, creating dynamic gameplay.
We’ll define its direction and speed using Scratch’s motion blocks.
Initial Ball Direction and Speed
To initiate the ball’s movement, we need to define both its initial direction and speed within the Scratch project. This is achieved using the “when green flag clicked” event block, ensuring the game starts predictably each time.
Initially, the ball sprite should be pointed in a random direction. Utilize the “point in direction (random from -180 to 180)” block to accomplish this, providing variability to each game session. This random angle determines the starting trajectory of the ball.
Next, set the ball’s initial speed using the “move (number) steps” block. A value between 5 and 10 steps is a good starting point, offering a balance between responsiveness and control. Experiment with different values to find a speed that feels appropriate for the game’s difficulty.
Consider adding a “forever” loop to continuously move the ball, creating the illusion of constant motion. This loop will contain the “move” block, ensuring the ball remains in play until it interacts with another object.
Bouncing the Ball Off the Top and Bottom Walls
To create realistic ball behavior, we must program it to bounce off the top and bottom edges of the Scratch stage. This prevents the ball from simply disappearing when it reaches these boundaries, maintaining continuous gameplay.
Utilize the “if on edge, bounce” block within the “forever” loop that controls the ball’s movement. This block automatically detects when the ball collides with the edge of the stage and reverses its direction along the appropriate axis.
This simple block handles both the top and bottom wall collisions, eliminating the need for separate conditional statements for each edge. It’s a concise and efficient way to implement this essential game mechanic.
Ensure the “if on edge, bounce” block is placed correctly within the “forever” loop, after the “move” block, to guarantee the collision detection occurs after each movement step. This ensures responsiveness and accurate bouncing.
Detecting Collision with the Paddle
A crucial element of Pong is detecting when the ball collides with the paddle. This interaction determines the ball’s new direction, keeping the game engaging and challenging. Scratch provides a dedicated block for this purpose: “if touching paddle?”
Place this “if” statement within the ball’s “forever” loop, ensuring it’s checked continuously during gameplay. Inside the “if” block, you’ll add the code that executes when a collision occurs – specifically, changing the ball’s direction.
The “touching paddle?” block efficiently determines if any part of the ball sprite is overlapping with the paddle sprite. This simplifies collision detection, avoiding complex calculations.
Remember to test this collision detection thoroughly to ensure it’s accurate and responsive. Fine-tune the paddle’s position and the ball’s speed to achieve optimal gameplay feel.
Changing Ball Direction Upon Paddle Collision
When the ball successfully collides with the paddle, we need to reverse its horizontal direction to simulate a bounce. This is achieved by multiplying the ball’s current x-velocity by -1. This simple operation effectively flips the ball’s direction along the x-axis.
Within the “if touching paddle?” block, add a “change x by” block and set its value to a negative number representing the ball’s current speed. This ensures the ball bounces off the paddle at a similar speed to its approach.
Experiment with slightly altering the x-velocity after the collision to introduce subtle variations in the bounce angle, adding a layer of unpredictability to the game.
Testing is key! Observe the ball’s behavior after each collision and adjust the velocity change to achieve a satisfying and realistic bounce effect.

Scoring and Game Over
Implementing a scoring system tracks player progress, while detecting when the ball passes the paddle signals a game over condition.
Resetting the game allows for immediate replayability, enhancing the overall user experience within the Scratch environment.
Implementing a Scoring System
To establish a scoring mechanism within your Scratch Pong game, you’ll need to create a variable to keep track of the player’s score. This variable, aptly named “score,” will increment each time the paddle successfully deflects the ball.
Begin by creating a new variable in the Variables category, naming it “score” and ensuring it’s set to zero at the start of the game. Next, within the paddle’s code, specifically after detecting a collision with the ball, add a block that increases the score by one.
Visually displaying the score is crucial for player engagement. Utilize the “show variable” block from the Variables category to display the “score” variable on the game screen. Consider adjusting the size and color of the score display for better visibility.
Furthermore, you can enhance the scoring system by adding visual feedback, such as a brief animation or sound effect, whenever the player scores a point. This provides positive reinforcement and makes the game more rewarding.
Detecting When the Ball Passes the Paddle (Game Over)
To determine when the game concludes in your Scratch Pong creation, you must detect if the ball escapes past the paddle. This is achieved by continuously monitoring the ball’s x-coordinate in relation to the screen’s edge.
Within the ball’s code, implement a conditional statement – an “if” block – that checks if the ball’s x-coordinate is less than a predefined negative value (representing the left edge of the screen). If this condition is met, it signifies the ball has passed the paddle.
Upon detecting this event, initiate a “game over” sequence. This could involve stopping all scripts, displaying a “Game Over” message on the screen, and potentially resetting the score to zero.
Consider adding a visual cue, like changing the ball’s color or playing a distinct sound effect, to clearly indicate the game’s termination to the player, enhancing the overall user experience.
Resetting the Game
After a “Game Over” scenario, providing a mechanism to restart the Pong game is crucial for continued play. This reset functionality involves restoring the game elements to their initial states, preparing for a new round.
Implement a reset procedure triggered either by a key press (like the spacebar) or a button click. This procedure should reposition the ball to its starting location, typically the center of the screen, and reset its initial direction and speed.
Furthermore, the player’s score must be reset to zero, and any “Game Over” messages or visual cues should be cleared from the screen. Ensure all scripts are restarted to ensure proper game operation.
A smooth reset enhances user engagement, allowing players to quickly jump back into the action without needing to manually adjust game parameters or restart the Scratch project.
Enhancements and Further Development
Beyond the basics, explore adding sound effects, adjusting difficulty levels, and implementing a two-player mode for a richer gaming experience.
Adding Sound Effects
To elevate the Pong game’s engagement, incorporating sound effects is a fantastic enhancement. Scratch provides a straightforward method for adding audio cues to key game events.
Consider adding a “blip” sound whenever the ball collides with the paddle, providing satisfying feedback to the player. You can easily import sound files directly into your Scratch project from your computer, or utilize sounds from the Scratch library.
Furthermore, a distinct sound effect when the ball hits the top or bottom wall can enhance the game’s responsiveness. A separate sound for scoring a point adds to the excitement.
To implement these sounds, use the “play sound” block, triggered by the corresponding events – paddle collision, wall bounce, and scoring. Experiment with different sounds to find what best complements the gameplay and creates a more immersive experience for the player. Remember to adjust the volume for optimal balance.
Adjusting Game Difficulty
Once the core Pong game is functional, refining the difficulty level is crucial for player enjoyment. Several parameters can be tweaked to create a more challenging or accessible experience.
Increasing the ball’s initial speed immediately raises the difficulty, demanding quicker reflexes from the player. Conversely, reducing the speed makes the game easier. Altering the paddle’s movement speed also impacts the challenge; a faster paddle allows for more precise control, while a slower one increases the difficulty.
You can also modify the angle at which the ball bounces off the paddle. A wider range of angles introduces more unpredictability, making the game harder. Implementing a variable scoring system, where points increase with difficulty, adds another layer of engagement.
Consider adding a difficulty selection screen, allowing players to choose their preferred level before starting the game. This customization enhances the overall user experience.
Creating a Two-Player Mode
Expanding the Pong game to support two players significantly enhances its replayability and competitive aspect. This involves duplicating the paddle sprite and assigning control to a second input method, typically the arrow keys.
Each player controls their respective paddle, attempting to deflect the ball past the opponent’s paddle. The scoring system needs adjustment to track each player’s points independently. Implementing clear visual cues, such as different paddle colors, helps distinguish between players.
Consider adding a game-over condition when one player reaches a predetermined score. To improve the experience, ensure the paddles move at a consistent speed for fair gameplay. A central line visually divides the playing field, indicating each player’s territory.
Testing with multiple players is vital to refine the controls and ensure a balanced and enjoyable two-player experience.